Yellowed, oxidized headlights don’t just hurt your car’s appearance—they cut your nighttime visibility by up to 50 percent, turning a routine drive into a hazard. A dedicated cleaner strips away the years of UV damage and road grime, restoring that factory-fresh clarity without forcing you to drop hundreds on replacement lens assemblies.
I’m Min — the co-founder and writer behind Gadgets Feed. I’ve spent weeks cross-referencing chemical formulations, grit ratings, and curing times across the most popular headlight restoration kits, analyzing what separates a weekend fix from a long-term solution.
This guide breaks down the top-performing formulas to help you pick the right automobile headlight cleaner for your specific level of lens degradation and budget.
How To Choose The Best Automobile Headlight Cleaner
Not all headlight cleaners are created equal. Some are simple chemical polishes that tackle surface haze, while others are multi-step systems with sanding discs and ceramic sealants meant for deeply pitted lenses. Your choice hinges on three factors: the severity of the oxidation, whether you want a drill-powered or hand-applied process, and how long you need the results to last.
Assess the Oxidation Level First
Light yellowing or fogging can often be reversed with a single-step chemical cleaner rubbed on by hand. Moderate oxidation—where the lens feels rough to the touch—requires wet-sanding with 500-800 grit discs. Heavy, crusty oxidation where the surface is flaking demands aggressive sanding (down to 400 grit) followed by polishing and a UV-blocking top coat. Kits like the 3M 39008 are built for the drill-assisted approach, while the Meguiar’s two-step kit is better suited for moderate haze without tools.
Prioritize UV Protection for Longevity
Once you strip off the old degraded plastic layer, the lens is completely vulnerable to UV rays. A kit that includes a clear coat, ceramic wipe, or UV block is non-negotiable if you want the results to last beyond a few months. The Cerakote kit chemically bonds a ceramic layer to the lens, while the Sylvania kit and 3M Headlight Clear Wipes each apply a dedicated UV-blocking clear coat. Products without a final protective step will likely need reapplication within 8-12 weeks.
Choose the Right Application Method
Drill-powered sanding systems (like the 3M 39008) are faster and more effective on thick oxidation, but they require a variable-speed drill and careful masking to avoid burning the paint. Hand-applied kits, such as the Chemical Guys All-in-One and Meguiar’s Two Step, eliminate the risk of power-tool damage and are ideal for beginners, but they demand more elbow grease on severely yellowed lenses. For the atomizing-cup vapor method used by the VCTSELITY kit, expect a stronger learning curve but a uniquely even, factory-like finish on complex headlight shapes.
Quick Comparison
On smaller screens, swipe sideways to see the full table.
| Model | Category | Best For | Key Spec | Amazon |
|---|---|---|---|---|
| Cerakote Ceramic Restoration Kit | Ceramic Wipe Kit | Longest-lasting finish | Ceramic coating bond | Amazon |
| 3M 39008 Lens Restoration System | Drill Sanding Kit | Heaviest oxidation removal | Drill-activated 500/800/3000 grit | Amazon |
| Chemical Guys Restore & Protect | Chemical Polish | Quick hand-applied refresh | 16 oz bottle, no tools needed | Amazon |
| Meguiar’s Two Step Kit | Hand Buff Kit | Easy no-drill restoration | Included abrasive pads + coating | Amazon |
| SYLVANIA Headlight Restoration Kit | Manual Sand Kit | Budget-friendly full process | Exclusive UV block clear coat | Amazon |
| VCTSELITY Atomizing Cup Kit | Vapor Polish System | European/complex lens shapes | 110V vapor atomizer, 200ml liquid | Amazon |
| 3M Headlight Clear Wipes 32516 | UV Sealant Wipes | Post-restoration UV protection | 40 wipes, UV-resistant coating | Amazon |
In‑Depth Reviews
1. Cerakote Ceramic Headlight Restoration Kit

The Cerakote kit uses a three-step process—oxidation removing wipes, sanding materials, and a ceramic coating wipe—that chemically bonds to the polycarbonate lens. This is the only consumer kit in this roundup that delivers a true ceramic layer, not just a polymer sealant, which is why reviewers consistently report the results lasting “as long as you own the vehicle” under harsh sun exposure.
Each kit includes 8 oxidation wipes, a sanding kit, and 2 ceramic coating wipes, enough for two full-size headlights. The entire process takes about 30 minutes with no power tools, eliminating the risk of sanding through clear coat or paint. User feedback on 2016-era Nissan Frontiers and older SUVs confirms that even heavy crusty oxidation comes off cleanly after thorough wet sanding.
The main trade-off is that the ceramic coating is permanent—if you apply it unevenly, you cannot simply buff it off. The instructions stress one overlapping pass without reworking. That said, the clarity improvement is dramatic, with multiple reviewers describing it as “crystal clear” and “like new.”
Why it’s great
- Ceramic coating resists UV and re-yellowing for years
- Simple hand-applied process in 30 minutes
- Contains enough material for two complete headlight restorations
Good to know
- Ceramic layer cannot be reworked once dry
- Some users report coating flaking after 12 months in extreme sun
2. 3M Headlight Lens Restoration System 39008

The 3M 39008 is a drill-powered wet-sanding system that moves through three grit stages: 500-grit Gold Sanding Discs for heavy oxidation, 800-grit White Finishing Discs for smoothing, and a 3000-grit Trizact Refining Disc for polish. Combined with their rubbing compound, this kit is designed for the harshest yellowing that hand wipes cannot touch.
Users consistently report 40-minute restoration times on 15-year-old car lenses with results described as “showroom new.” The kit includes a disc pad holder and enough sanding discs for roughly five more sets, making it a great value if you plan to do multiple vehicles. The variable-speed drill requirement is the only barrier, but half-speed settings are recommended to avoid melting the plastic.
Note that this kit does not include a UV sealant wipe. Without a top coat, the freshly sanded lenses will re-oxidize within months. Pairing it with the separate 3M Headlight Clear Wipes (product 7 in this guide) is the recommended path for long-term clarity.
Why it’s great
- Aggressive drill sanding removes deep pitting and crusty oxidation
- Enough material for up to six restoration sessions
- Clear instructional process with reliable results on 15+ year-old lenses
Good to know
- Requires a variable-speed drill (not included)
- No UV protective coating in the kit
3. Chemical Guys Headlight Restore and Protect
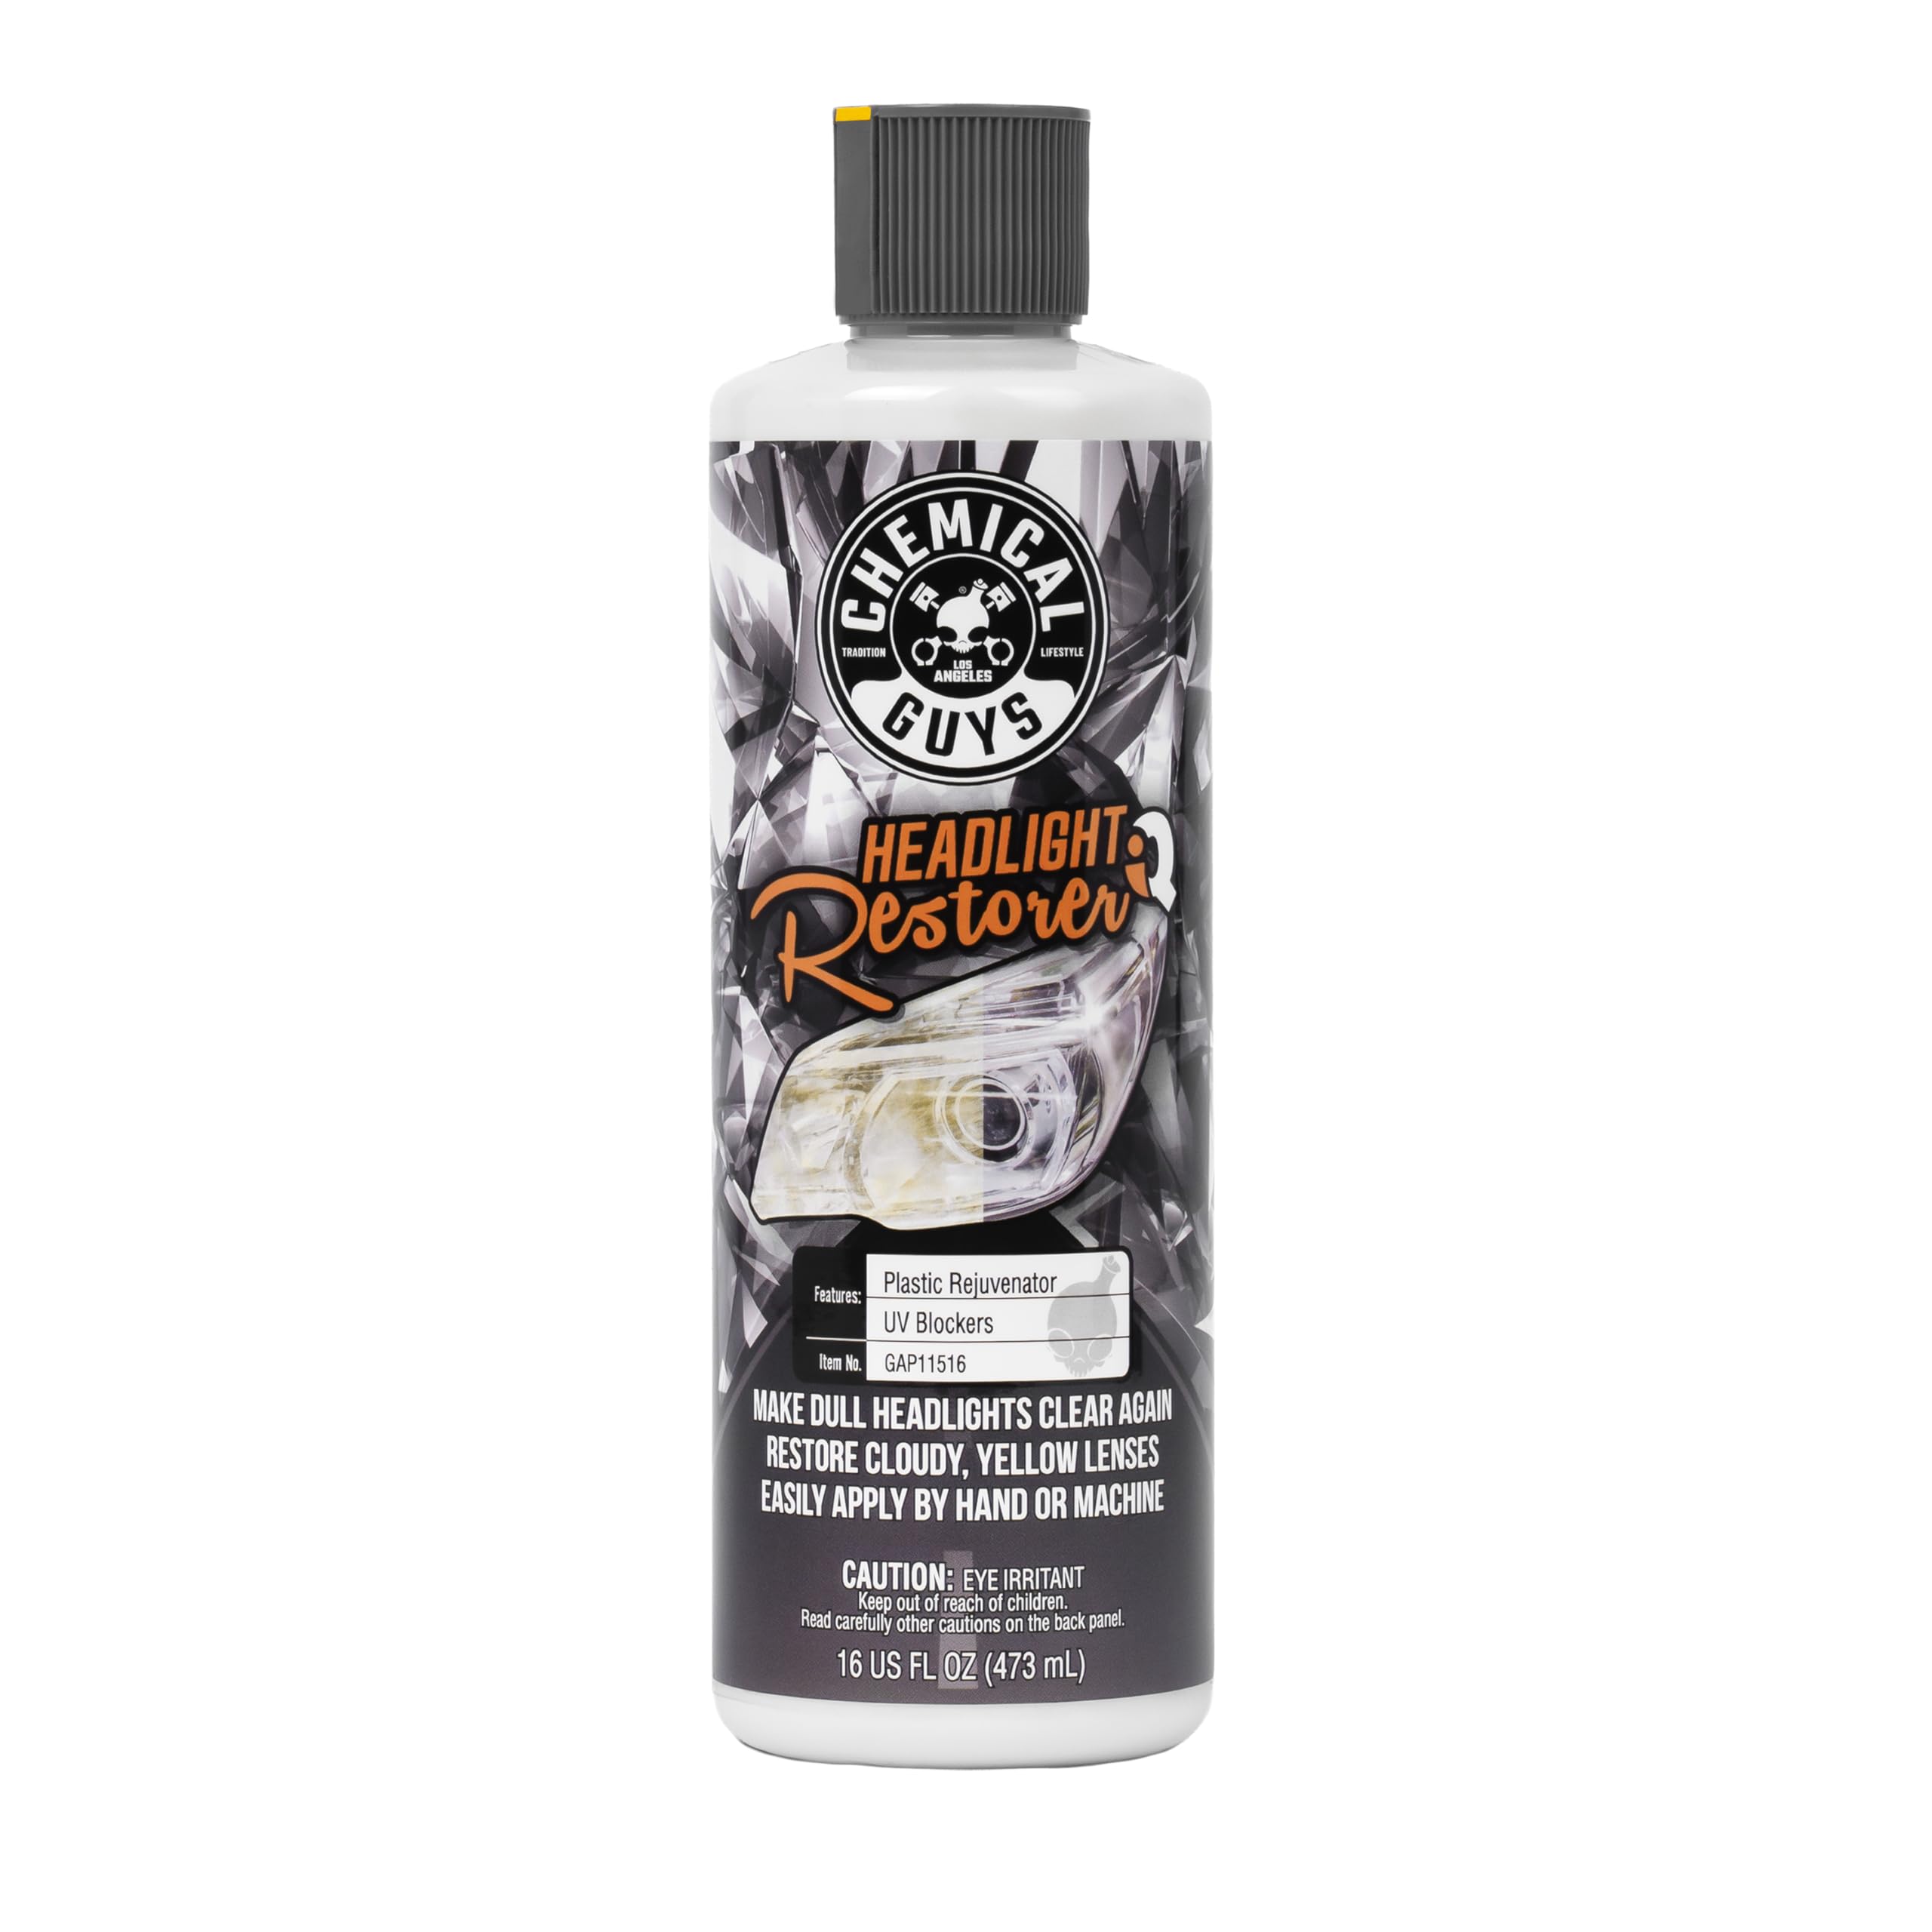
The Chemical Guys formula is a single-step chemical polish that cleans, restores, and leaves a protective layer in one application. It is ideal for lenses with light to moderate haze—not heavily pitted surfaces. Applied by hand with a foam or microfiber applicator, it removes surface oxidation and embedded dirt in roughly 15 minutes per set.
Reviewers note that a single application restores about 90 percent of clarity, with a second pass hitting 100 percent. The 16-ounce bottle provides multiple applications, and the product works on taillights, fog lights, and turn signals. One user paired it with a battery-powered Milwaukee buffer at low RPM for a factory-like finish.
Because it lacks a separate sanding stage, it will not fix deep scratches or severe flaking. The protective coating is also thinner than ceramic options, so reapplying every 4-6 weeks is recommended for vehicles parked outdoors. Still, for a fast weekly maintenance wipe-down, this is the most convenient option here.
Why it’s great
- Fast 15-minute application with no sanding or tools
- Large 16 oz bottle offers excellent per-use value
- Safe for multiple surfaces including fog lights and taillights
Good to know
- Not effective on deeply pitted or flaking lenses
- Protection requires frequent reapplication
4. Meguiar’s Two Step Headlight Restoration Kit

Meguiar’s Two Step Kit simplifies headlight restoration with a chemical cleaner applied via included abrasive pads, followed by a clear spray coating that provides up to 12 months of UV protection. No drill or sandpaper is needed—just hand buffing and a wipe-on final coat. This makes it one of the most beginner-friendly kits on the market.
The kit works best on lenses with moderate yellowing and surface haze. For 10-year-old or older lenses with deeper pitting, users recommend pre-treating with Meguiar’s G2981 Ultra-Cut Compound before starting the two-step process. The included clear spray, however, is excellent at creating a glossy, factory-like finish that resists re-fogging for at least several months.
A common observation is that the buffing paste runs out quickly if the lenses are large, so you may need a second kit for trucks or SUVs. The protective coating also requires a 24-hour cure before the car can be washed, which is longer than wipe-on alternatives.
Why it’s great
- True no-drill, no-sanding process for moderate haze
- Included clear coating blocks UV for up to a year
- Trusted 125-year brand with clear instructions
Good to know
- Paste quantity is limited; larger lenses may need extra
- Coating requires 24-hour dry time before car wash
5. SYLVANIA Headlight Restoration Kit
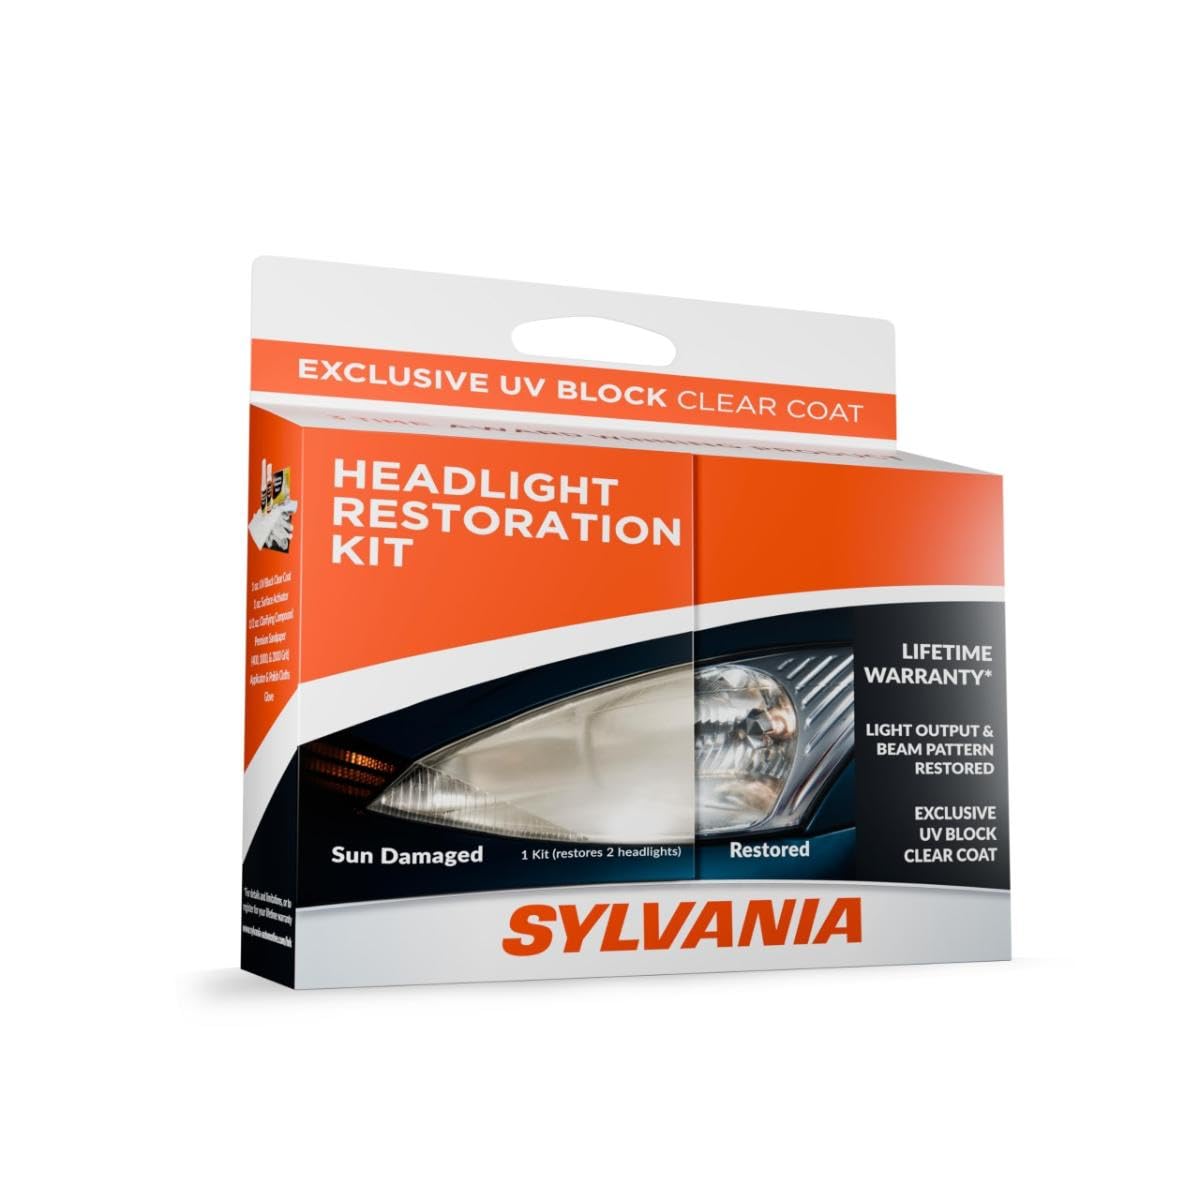
The Sylvania kit takes a manual sanding approach with three grits of premium sandpaper, a surface activator, clarifying compound, and an exclusive UV block clear coat. It requires no power tools, but it does demand patience—the wet-sanding stage alone takes about 20 minutes per lens, and users report a full 1.5-hour process for best results.
The standout feature is the UV-blocking clear coat, which is included as a separate step rather than being part of the compound. Properly applied, this clear coat maintains clarity for months, with one reviewer noting it still looked crystal-clear after three months on a 2011 Toyota sedan. The kit is designed for DIY drivers who previously thought they needed to spend on replacement headlight assemblies.
The main difficulty is applying the UV clear coat evenly in one overlapping pass. If you go back to touch up a missed spot, it creates a permanent haze. Additionally, the surface activator spray runs out quickly if you over-spray, so conservation is critical.
Why it’s great
- Includes dedicated UV block clear coat for long-term protection
- Three sanding grits handle moderate to heavy oxidation
- Saves hundreds compared to dealership lens replacement
Good to know
- UV clear coat cannot be reworked once applied
- Process takes 1.5+ hours and requires extra spray bottles
6. VCTSELITY Atomizing Cup Headlight Restoration Kit

The VCTSELITY kit uses a heated atomizing cup to vaporize a specialized liquid repair solution that condenses onto the lens, filling micro-cracks and restoring clarity. This vapor method is fundamentally different from abrasive sanding or chemical polishing—it melts and reflows the top layer of plastic to remove yellowing and scratches.
The kit includes an aluminum alloy storage box, 200ml repair liquid, coated atomized steel cup, six types of sandpaper, both 110V and car (12V) power supplies, a sanding plate, and all accessories. It works on even the most difficult headlight problems: yellowing, turbidity, oxidation, and cracking. Users on European cars like Mercedes, Range Rover, and VW Golf R32 report outstanding results, though American trucks like the Ford F350 may need extra wet-sanding due to thick factory clear coat.
The learning curve is steeper here. Overfilling the cup (more than 50ml) slows heating, and the vapor is hot—burns are a real risk. The finish lasts roughly six months for vehicles parked outdoors. Despite the complexity, the final clarity is often superior to any wipe-on or sanding-only method, especially on curved, complex lens shapes.
Why it’s great
- Vapor method fills cracks and restores complex lens shapes evenly
- Dual power supply works on 110V or car 12V for portable use
- All-in-one storage box includes sandpaper, tools, and repair liquid
Good to know
- Strong learning curve; hot vapor requires careful handling
- Liquid must be limited to 50ml per cycle
7. 3M Headlight Clear Wipes 32516
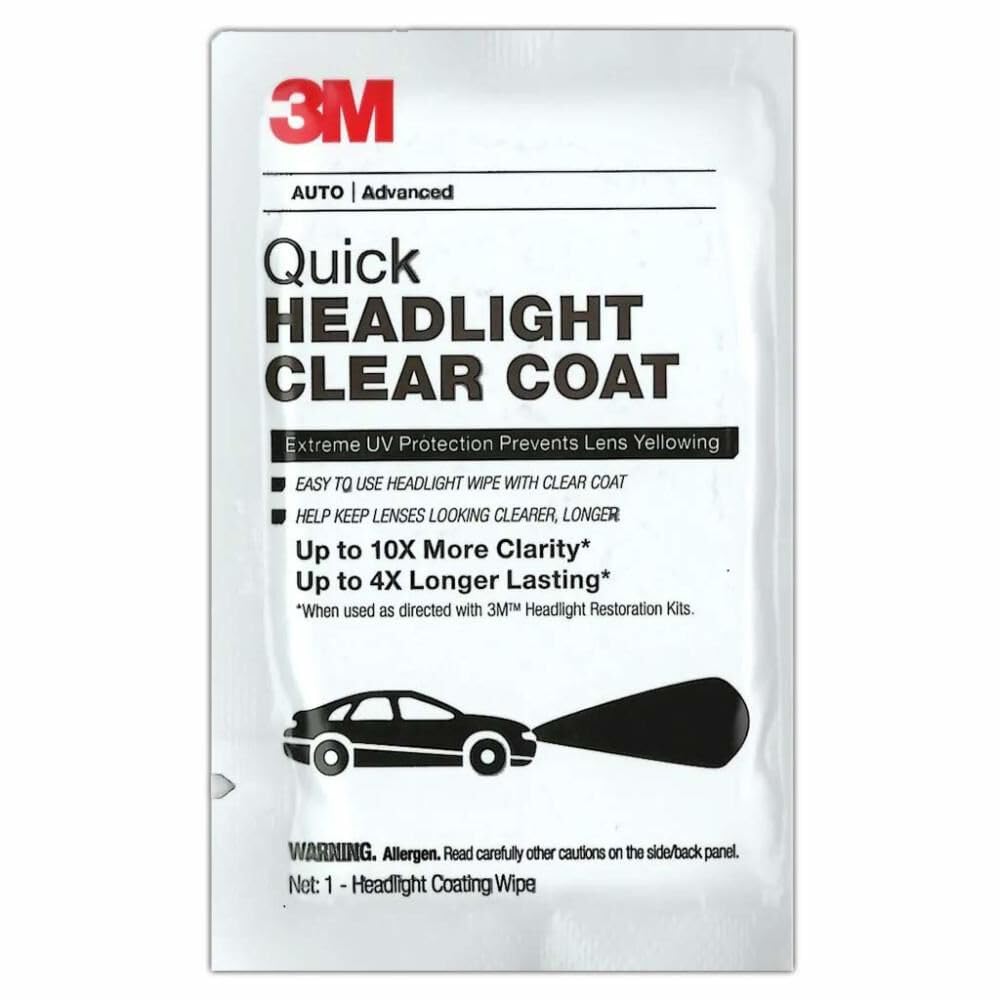
The 3M Headlight Clear Wipes are not a standalone restoration kit—they are a UV-resistant clear coat sealant designed to be applied after you have already sanded and polished the lenses. Each wipe deposits a thin, optically clear layer that protects against re-yellowing for up to four times longer than methods that skip the final sealant step.
The box contains 40 wipes, enough for many restoration sessions. Users commonly pair these wipes with a sanding kit like the 3M 39008 or the Turtle Wax T-240KT. One reviewer noted that after using the wipes on a 2003 Honda, the lenses looked “brand new and protected” even after months of outdoor parking. The wipes go on cleanly and do not crack like some aerosol clear coats.
The main drawback is that the lens must be properly prepped first—any remaining oxidation or dirt will be sealed in under the coat. Application requires a gentle, even motion to avoid streaking. If you are restoring multiple cars or plan to recoat every six months, this box provides exceptional long-term value.
Why it’s great
- UV-resistant coating extends clarity 4x longer than unprotected restoration
- 40 wipes provide multi-year supply for repeat applications
- Clean application without cracking or yellowing
Good to know
- Requires completely prepped lens surface before use
- Streaking can occur if not applied with gentle even pressure
FAQ
Can I use a headlight cleaner on polycarbonate lenses with factory UV coating?
How long does a headlight restoration last before the lenses yellow again?
Do I need a drill to use the 3M 39008 restoration system?
Final Thoughts: The Verdict
For most users, the automobile headlight cleaner winner is the Cerakote Ceramic Restoration Kit because it combines a simple hand-applied process with a chemically bonded ceramic coating that outlasts every other kit here. If you need to remove deep, crusty oxidation from older lenses, grab the 3M 39008 for its aggressive drill-based sanding system. And for budget-conscious drivers who only have light haze, the Chemical Guys Restore and Protect delivers a fast, effective refresh with no tools required.