
Our readers keep the lights on and my morning glass full of iced black tea. As an Amazon Associate, I earn from qualifying purchases.
Specs are compiled from manufacturer listings and verified buyer reviews and can change over time — please confirm the key details on the product page before buying.
Driving at night with fogged, yellowed lenses is like looking through a dirty fishbowl — the road turns hazy and hazards hide in plain sight. The right auto headlight cleaner strips oxidation and seals the plastic, with ceramic kits like CERAKOTE lasting as long as you own the car. This guide compares wipes, liquids, and drill kits so you can match one to your lens damage and available effort.
I’m Min — the founder and writer behind Gadgets Feed. This guide is built by comparing the manufacturers’ published specifications and the patterns across verified customer reviews, so you get each pick’s real strengths and trade-offs instead of marketing spin.
You will learn which restoration method fits your car’s wear, what the grit numbers really do, and how to spot a lasting UV seal. auto headlight cleaner choices come down to chemistry, elbow grease, and how long you want the clarity to stick.
Our Picks at a Glance


How To Choose The Best Auto Headlight Cleaner
The right kit hinges on how far gone your lenses are. Mild haze responds to chemical wipes, while deep yellowing and scratches usually need sanding discs followed by a protective seal. Matching the kit to the damage level turns a one-hour fix into a smooth job instead of a frustrating afternoon.
Match the method to the damage
Light clouding and dirt lift off with oxidation-removing wipes and a polish. Heavier yellowing and fine scratches call for sanding — either by hand with supplied discs or with a drill for speed. If your lenses are heavily pitted or cracked, no cleaner will fully restore them, so set expectations before you buy.
Look for a real protective sealant
A polish alone leaves bare plastic exposed to UV rays, so haze returns within weeks. The best kits include a ceramic coating or UV-blocking sealant that chemically bonds to the lens for lasting defense. Seals rated for 18+ months, like Meguiar’s, cut redo frequency significantly.
Check the grit range and included gear
Sanding discs come in numbered grits — lower numbers are coarser and cut deeper, higher numbers refine the surface. A kit with both a coarse and fine option handles a wider range of damage. Count the wipes, gloves, and pads—running out mid-job leaves you with a half-finished lens.
Quick Comparison
| Model | Best For | Protection Type | Sanding Included | Kit Weight | Amazon |
|---|---|---|---|---|---|
| CERAKOTE Ceramic Kit★ Best Overall | Lasting UV ceramic bond | Ceramic Coating | Yes (1 Sanding Kit) | 4.8 oz | Amazon |
| 3M Lens RestorationTop Performer | Drill-powered speed | Clear Coat (UV) | Yes (500 Grit) | 4.64 oz | Amazon |
| SYLVANIA KitLike-New Finish | No-tools like-new finish | UV Clear Coat | Yes (Premium Sandpaper) | 4.8 oz | Amazon |
| Meguiar’s Ultimate | 18-month UV sealant | UV Sealant (18+ mo) | Yes (1000 & 3000 Grit) | 68 g | Amazon |
| XPERTCHEMY Kit | Heavy yellowing by hand | Ceramic UV Protector | Yes (P2000 & P3000) | 7.8 oz | Amazon |
| Ghguole Refill Liquid | Vapor-based restoration | Chemical Repair Fluid | No | 10.9 oz | Amazon |
| Ghguole 800g Liquid | Large-volume refills | Chemical Repair Fluid | No | 800 g | Amazon |
| ROYWOO Repair Kit | High-volume shop work | Chemical Coating (800g) | Water Sanding | 4.02 lb | Amazon |
In‑Depth Reviews
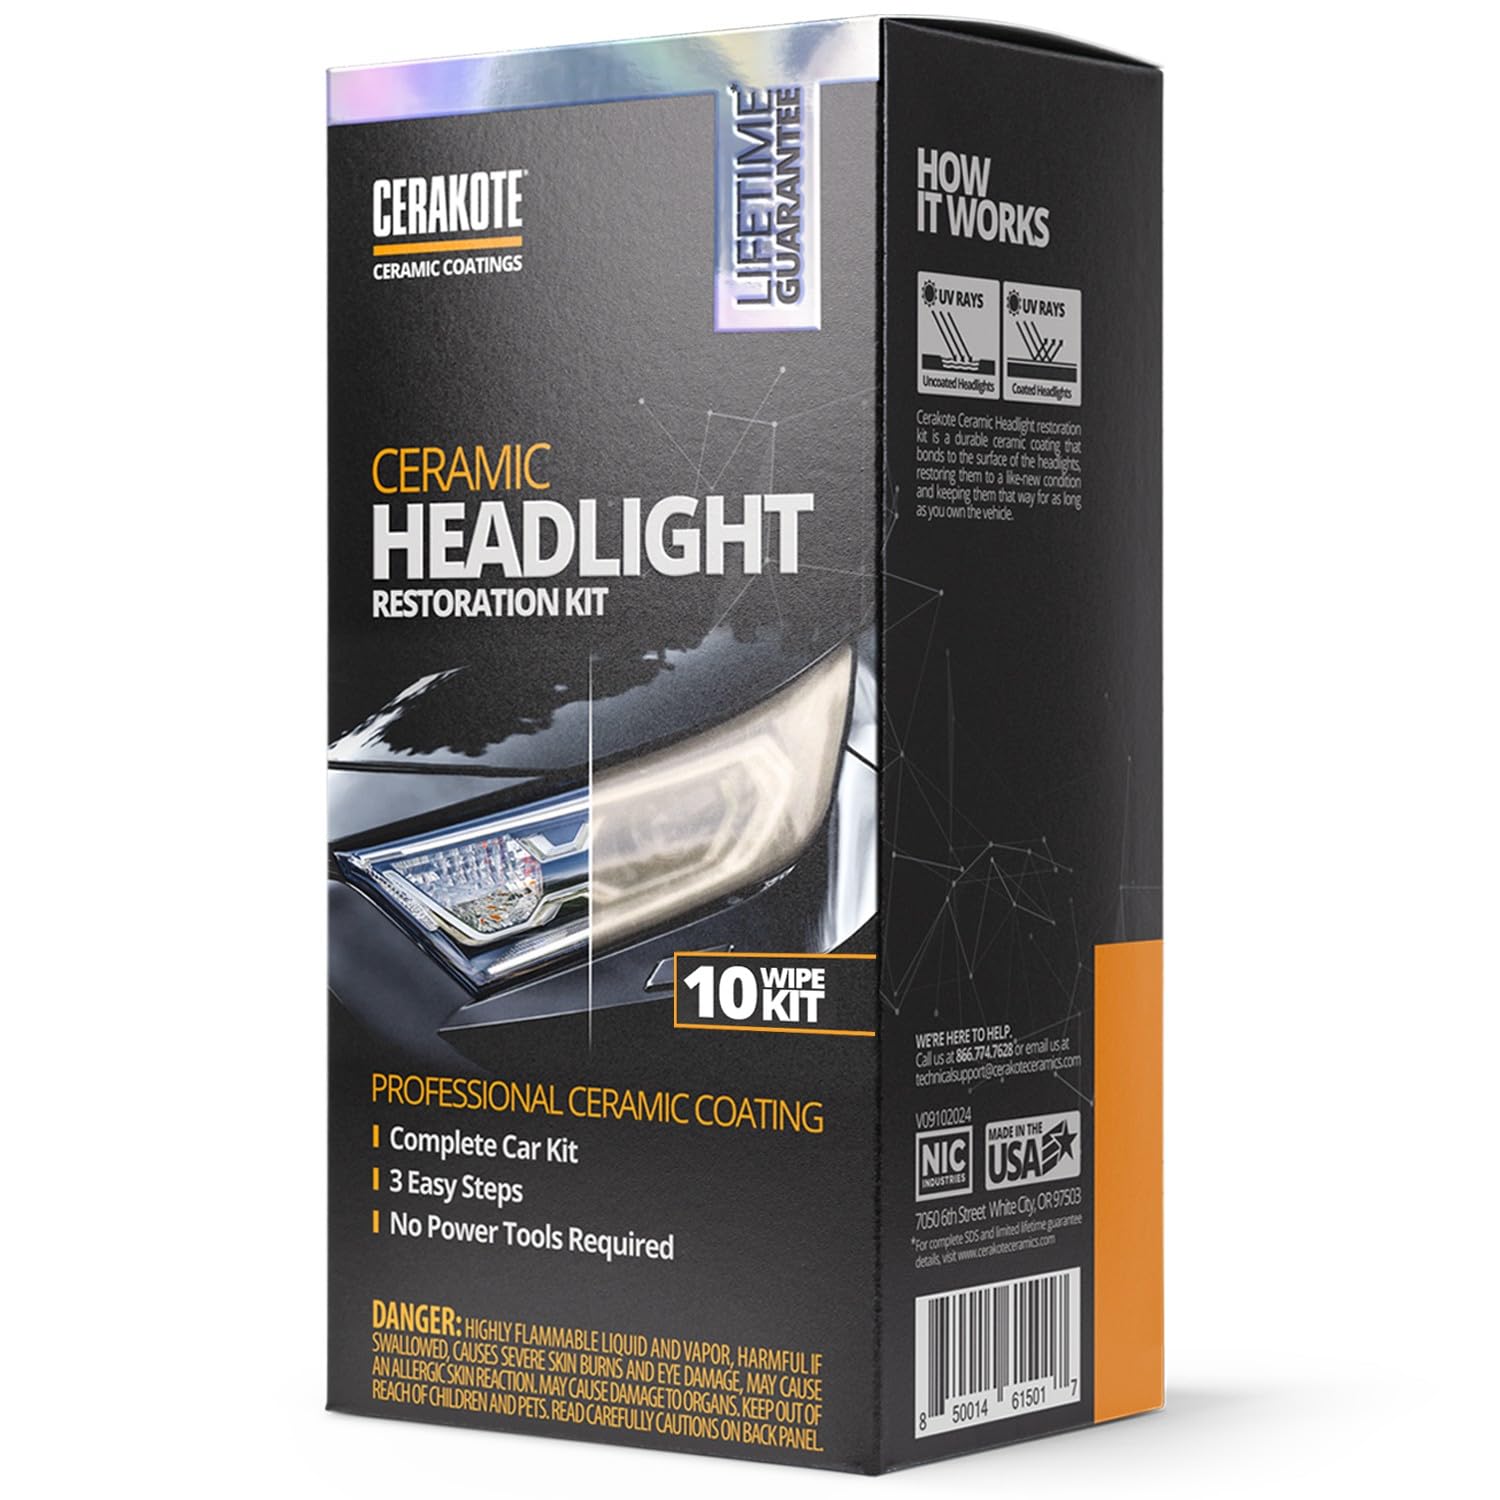
1. CERAKOTE Ceramic Headlight Restoration Kit
Our pick — over 4.5★ from 73,000+ verified ratings; the strongest balance of quality and price.
A 30-minute wipe-and-sand routine that bonds a ceramic shield to your lenses for as long as you own the car.
This is the crowd favorite for a reason: the chemistry holds up. The kit packs 8 oxidation-removing wipes, 1 sanding kit, and 2 ceramic coating wipes, and the true ceramic coating chemically bonds to the headlight for UV protection that lasts as long as you own the vehicle. No power tools are involved, so there is no risk of a drill chewing into your paint or plastic.
You get the clearest payoff in the least time here: buyers report going from badly clouded lenses to crisp, near-new results in about 30 minutes, and many say the difference is night-and-day when driving after dark. The instructions are clear enough that even first-timers finish without drama, and the whole process stays under an hour.
The honest trade-off is elbow grease during the polish phase. The polish phase requires real effort, and for severely faded lenses the advice is to start with a coarser 800-grit before the kit’s own steps. A few owners warn that applying more than one coat of the ceramic leaves visible marks, so restraint is key. Still, the durability is the headline — the review pages sum it up: “Results lasted 3+ months with no cloudiness return.”
Why owners stick with it
- True ceramic coating bonds chemically for UV protection that matches your ownership period
- Only 30 minutes of work with no power tools or drills required
- 8 oxidation wipes plus a sanding kit handle moderate to heavy yellowing
Where it asks for patience
- Requires genuine elbow grease during the polishing phase
- Applying more than one ceramic coat can leave visible marks
- Severe fading may need an extra coarse 800-grit pass first
Reach for it if: you want a set-it-once ceramic seal that outlasts cheaper wipes and you do not mind 30 minutes of hand work.
Know before you buy: stick to a single ceramic coat and budget extra sanding effort for lenses that are far gone.
2. 3M Headlight Lens Restoration System
Drill-powered sanding that strips the harshest yellowing while you stay in control of the speed.
If your lenses are beyond what wipes can fix, this is the heavy lifter. The 3M system is powered by drill-activated sanding, which delivers maximum clarity by cutting through oxidation that hand rubbing would take forever to remove. The kit uses medium 500-grit aluminum oxide discs, and the whole package weighs just 4.64 ounces — a full 68% lighter than the XPERTCHEMY kit, making it easier to maneuver one-handed around the lens.
The standout strength is effectiveness on stubborn damage. Owners mention that cloudy, yellowed SUV lenses come back to near-new, and the drill speed turns a job that could take an hour into roughly 30-40 minutes per light. A recurring tip is to tape off the surrounding paint before starting, since the spinning disc can scuff clearcoat if it wanders. The clarity holds up after rain, and night visibility improves noticeably.
The catch is that you need a drill — it is not a grab-and-go kit. One owner found the 3000-grit disc disintegrated mid-job and simply skipped that step, buffing instead. For permanence, several owners recommend adding their own UV clear coat on top, since the kit’s protection is not the headline feature. It is a proven, cost-effective way to extend lens life, but it rewards patience and a steady hand.
Who it beats: this out-cuts hand-wipe kits on deep oxidation, and at 4.64 ounces it is easier to hold than heavier competitors — but it only shines if you already own a drill.
Best for: owners with moderately to heavily yellowed lenses who want professional-grade speed and have a drill on hand.
Think twice if: you want a no-tool weekend project; this one demands setup, taping, and steady sanding technique.
3. SYLVANIA Headlight Restoration Kit
A four-step hand routine with a mirror-like finish that owners describe as looking like a new car.
This kit turns restoration into a genuine at-home project. It includes a surface activator, premium sandpaper, a clarifying compound, and an exclusive UV block clear coat, with everything needed to repair two headlight lenses — no tools required. The process runs through spray-on activator, light sanding, a polish pass, then sealant, and at 4.8 ounces the kit is light enough to handle comfortably.
Owners praise the functionality most, and the results back it up: one 10-year-old set of badly oxidized lenses came back crisp, and a severely damaged C6 Corvette looked new from 18 inches away after extra sanding. The instructions are straightforward, and the kit covers both headlights with spare activator and sealant. For most, the total time lands around 2-4 hours of active work plus an overnight sealant cure.
The trade-off is that the sealant demands a careful single pass. Overlapping strokes can leave a permanent haze on one lens, and the kit’s single paste packet means you must do both headlights at once — it may run short on very large lenses. Owners also recommend extra sandpaper at finer grits (3000/5000/7000) for a truly flawless polish. It is a rewarding job, but it rewards attention to detail over speed.
Detail-driven results: the finish is the selling point — mirror-clear and like-new — but you earn it with careful sanding and a single, even sealant pass.
Reach for it if: you enjoy a hands-on project and want a showroom-clear finish without buying any tools.
Look elsewhere if: you want a quick wipe fix; this kit expects hours of your time and a steady hand with the sealant.
4. Meguiar’s Ultimate Headlight Restoration Kit
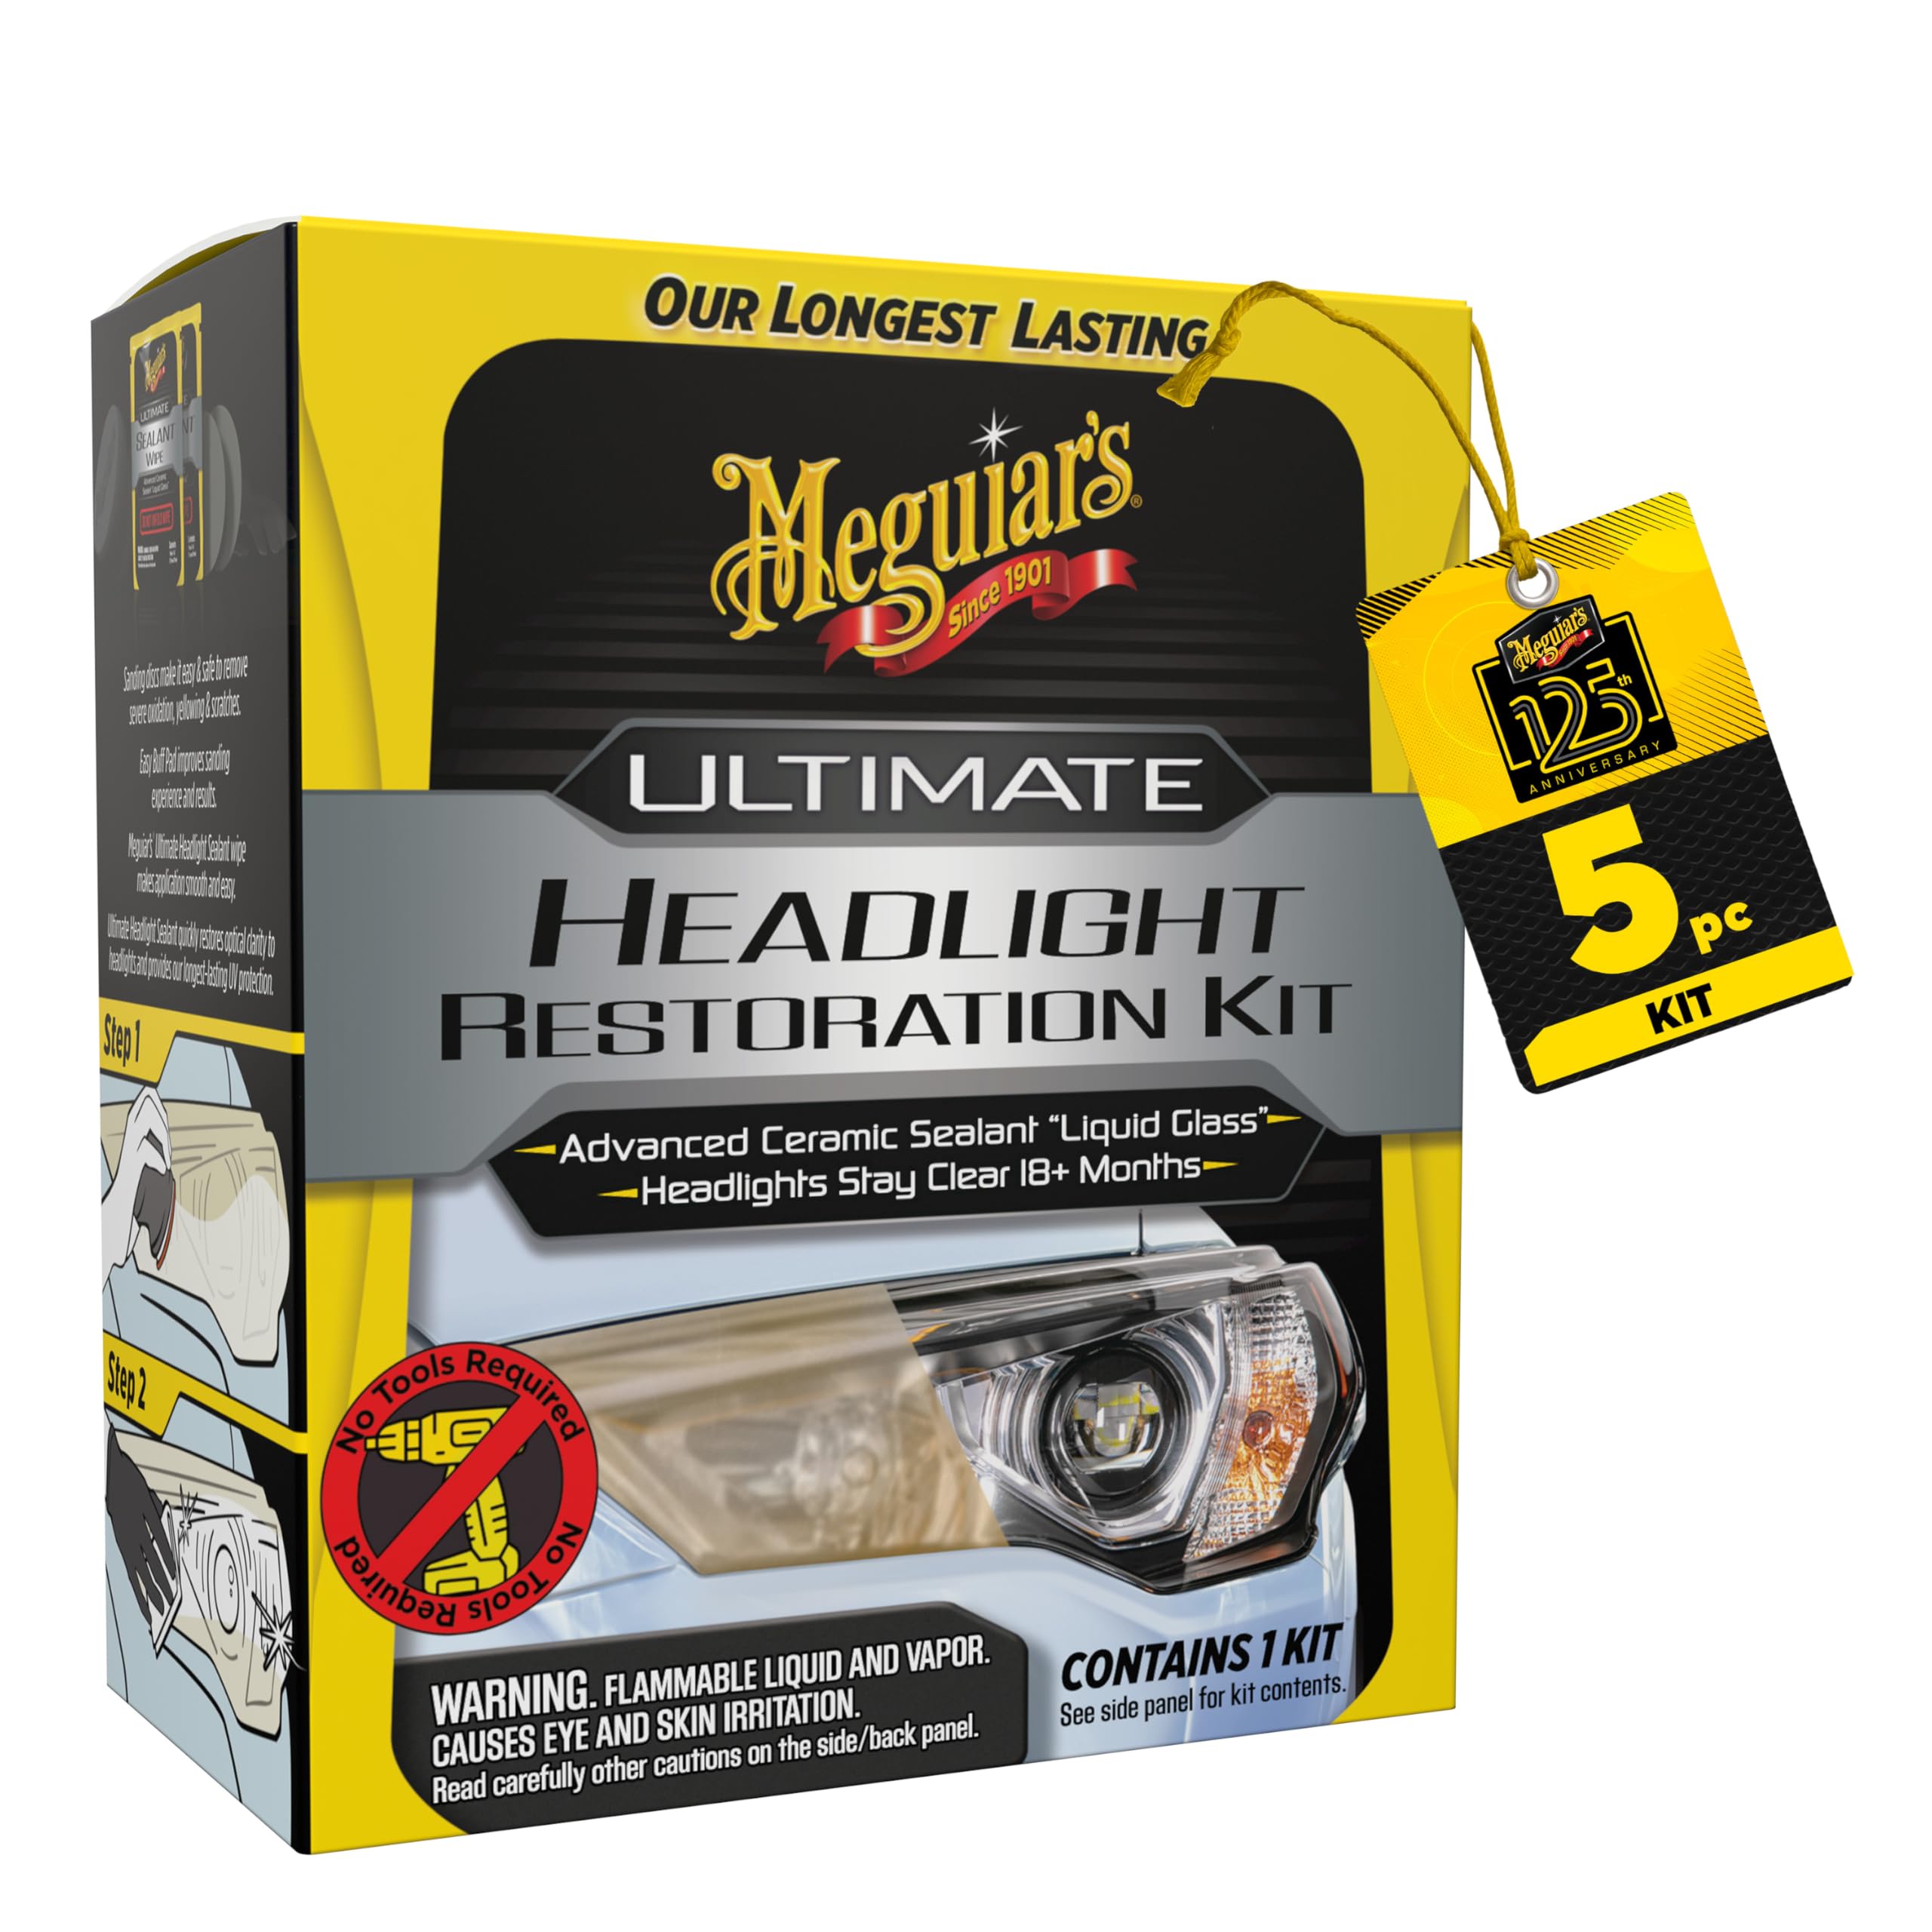
A two-grit sand and a wipe-on sealant that locks in clarity for 18-plus months of UV defense.
The selling point here is the sealant, and it delivers. Meguiar’s Ultimate Headlight Sealant contains UV protection, dries crisp, and is rated for 18+ months of protection — pairing it with the kit’s 1000 and 3000 grit sandpaper lets you attack both mild and heavy yellowing. The pre-saturated wipes make the final seal an easy wipe-on step, and no power tools are required anywhere in the process.
Effectiveness is the most-praised trait, with brightness close behind. Owners describe lenses going from showing yellow light to bright white, even on a 10-year-old car with 180,000 miles on it. One wipe reportedly covers both headlights, and the durability holds up — several owners note the lenses remain in good condition even after a year. It outperformed a competitor’s “lifetime warranty” product that faded in a year, which is why many say they will stick with Meguiar’s.
The honest caveat is drying time. Full cure takes 48 hours with no tacky residue, so you cannot drive straight into a car wash the same day. Some owners also note the protection may not hit the stated minimum, though most find it long-lived. If you want a hand-restoration that spends more time protecting than polishing, this is the kit.
Protection-first design: the 18+ month UV sealant is the reason to buy — it keeps haze away far longer than a bare polish ever will.
Best for: owners who want a durable, tool-free seal and do not mind waiting 48 hours for the coating to fully cure.
Know before you buy: the wait for full dryness is real, and protection duration can vary below the stated 18 months for some.
5. XPERTCHEMY Headlight Restoration Kit
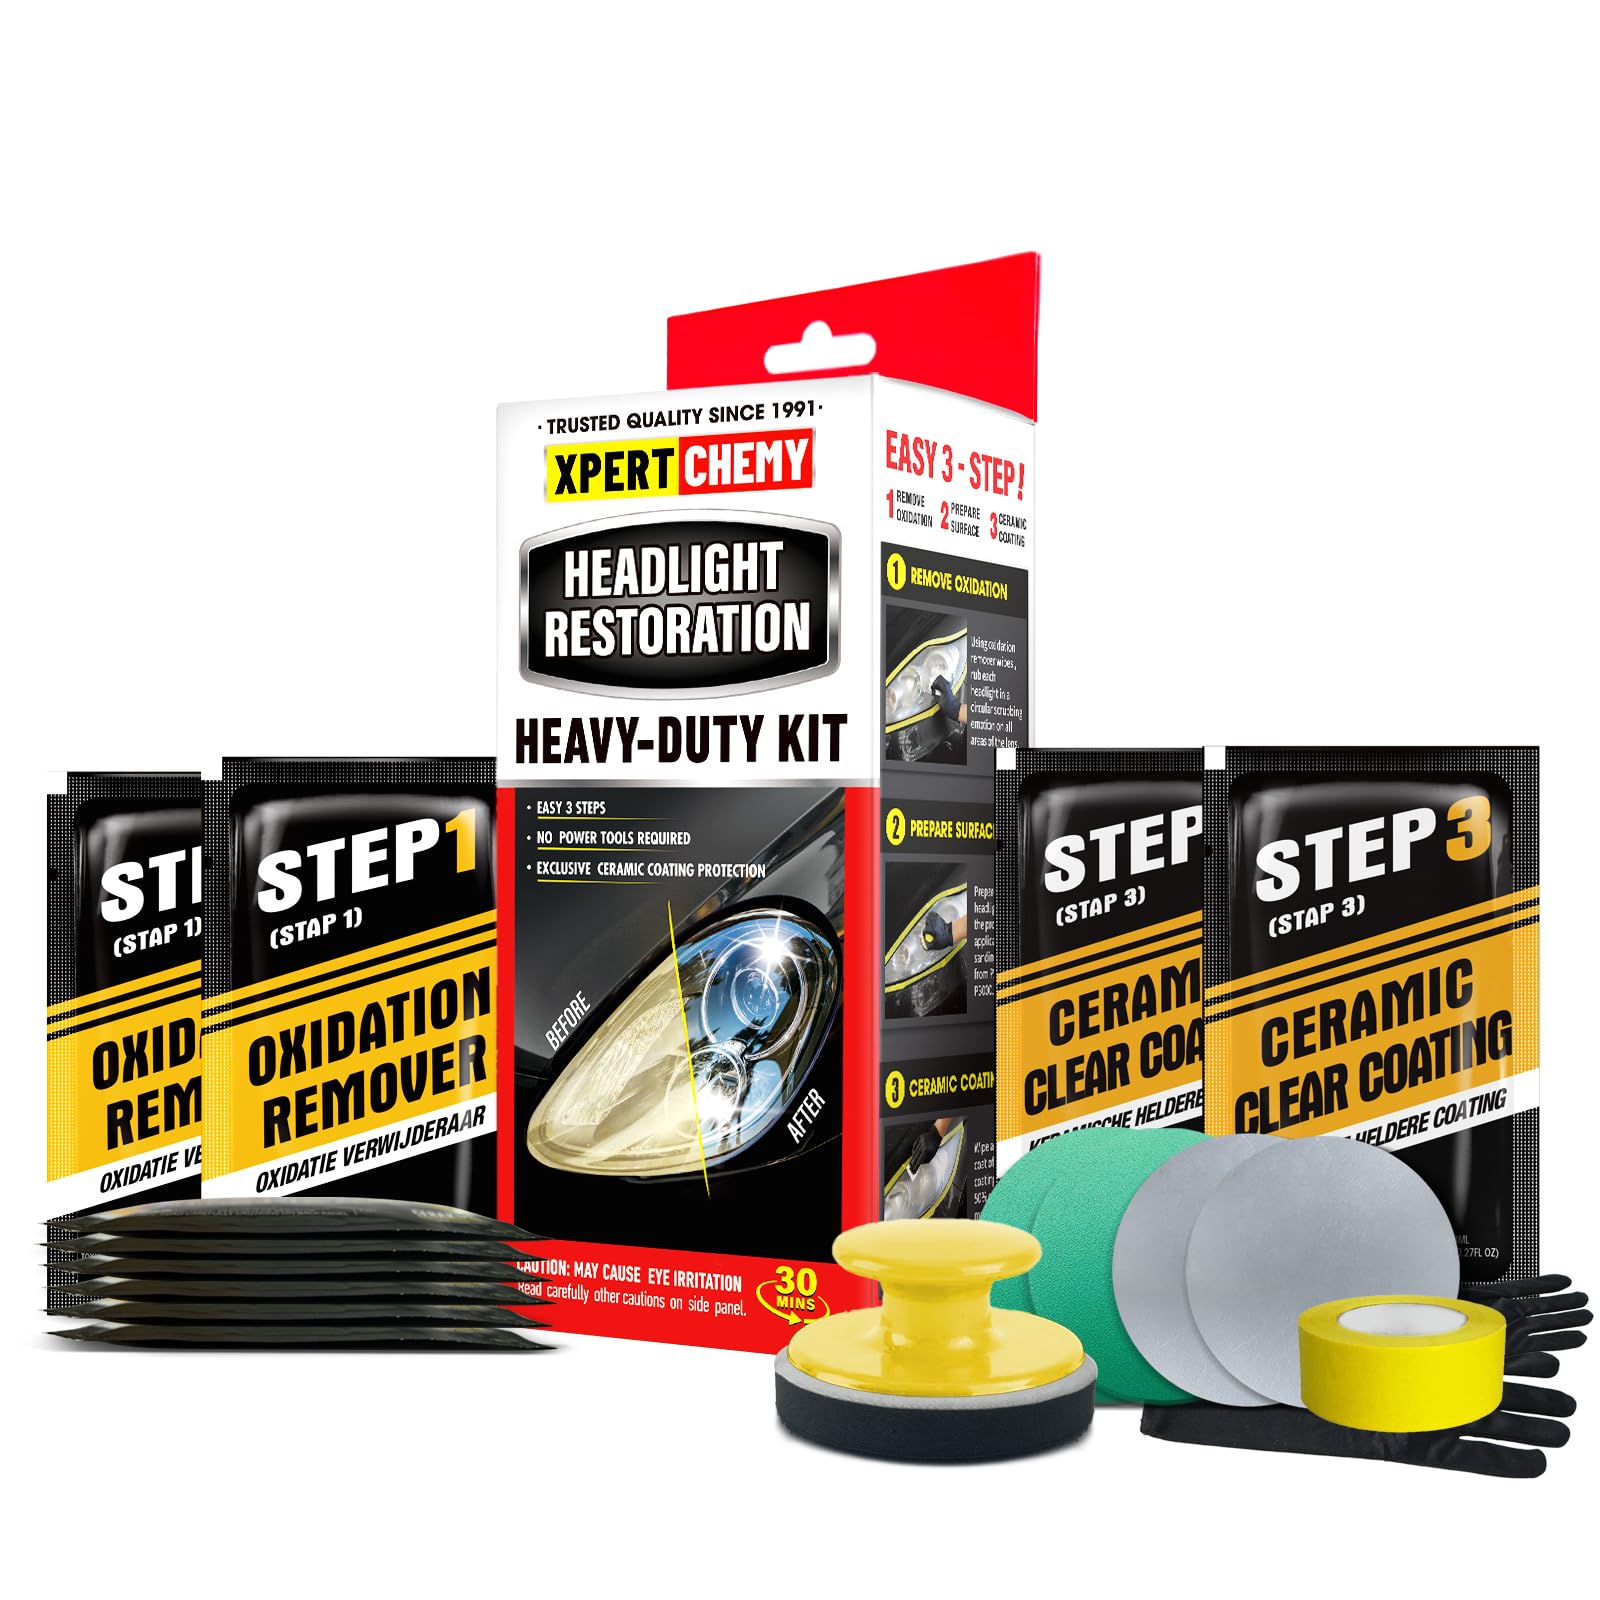
A complete hand kit with 2 ceramic wipes that chemically bond UV protection for up to 18 months.
This is the most fully-stocked hand kit of the group. It includes 1 masking tape, 8 oxidation remover wipes, 2 each of P2000 and P3000 sanding discs, a surface prep pad, 4 protective gloves, and 2 ceramic coating wipes — everything you need with zero power tools. The ceramic protector chemically bonds to the lens resin and wipes away the excess, claiming UV, tar, and oxidation defense for up to 18 months before a recoat.
Functionality is what owners praise most, and the value lands squarely in the budget-friendly tier. Heavily yellowed and cloudy headlights come back dramatically clearer, brighter, and glossier, with noticeably improved night visibility. The instructions are easy to follow, and the complete kit means no running to the store mid-job. For a beginner, it is genuinely approachable and far cheaper than replacing the lenses.
The honest limit is on severe oxidation. One owner measured only 60-65% improvement on a 5-year-old Toyota, finding haze and pitting remained despite following every step exactly. Others note the supplied thin gloves split instantly and wish for a coarser 1000-grit disc for deeper cuts. For light haze and moderate yellowing it shines — just do not expect miracles on deeply pitted plastic.
Great on light-to-moderate haze: the included 18-month ceramic wipes and full hand kit make it a standout value, but deeply pitted lenses will need more aggressive gear.
Reach for it if: you want a complete no-tool kit with a genuine ceramic seal at a budget-friendly price.
Think twice if: your lenses are heavily pitted or scratched — the coarse grit stops at P2000 and results may top out around 60-65%.
6. Ghguole Headlight Restoration Liquid Refill

A chemical vapor process that melts away haze and corrosion for instant clarity — if you have the patience.
This one works differently from every other pick. The 300g repair liquid is poured into an atomizing cup, which emits steam that repairs the headlight surface — you never apply the liquid directly, as that would damage the lens. It is a refill bottle for a renovator system, and at 10.9 ounces it holds enough for multiple lights and even outdoor lighting.
When it works, it works instantly. Owners describe results that are immediate, with one noting the surprise of it matching the product description exactly — easy to use and fast-acting. Another compares it to the social media videos that made it popular, confirming it takes elbow grease and time to get the surface right, but the payoff is real. The liquid removes scratches, yellowing, blurring, and oxidation while extending the life of the lenses.
The recurring gripe is the vapor method itself — it is slow, spotty, and time-consuming. Several customers note the vapor output is weak, with not enough steam to be truly effective, and one found the process may lead to micro-cracks in plastic lenses that appear the next day. It works best as a niche tool for rainy days when other methods cannot cure. Patience is non-negotiable here.
Niche but real: the vapor approach gives instant results when it lands, but the inconsistent steam output and slow pace make it a specialist tool rather than a daily driver.
Best for: owners who already have an atomizing cup and want a low-cost refill for occasional touch-ups.
Look elsewhere if: you want a reliable, fast one-shot kit — this method is slow, spotty, and demands patience for the surface prep.
7. Ghguole 800g Headlight Restoration Liquid

A massive 800g refill bottle that keeps your atomizing cup busy across every car in the driveway.
If you have multiple vehicles or plan to restore lenses more than once, this is the volume play. The 800g bottle is the largest liquid option in this lineup, and it works with an atomizing cup (not included) to emit steam that repairs the headlight. Like its smaller sibling, you never apply the liquid directly — that damages the lens. The 800g capacity means plenty of refills before you need to reorder.
Ease of use is the most-praised trait here, and the formula handles oxidation, scratches, and haze. Reviewers point out headlights looking better than when they first bought the car, with immediate results and improved night visibility. The large volume makes it a strong value proposition for anyone restoring more than one set of lenses, and the convenience of simple storage adds to the appeal.
The honest picture is mixed on clarity. Some owners take lenses from foggy yellow to perfectly clear, while others say the process made them look worse — the outcome depends heavily on your prep work and technique. One owner notes the vapor device puffs irregularly (about a quarter-size every 30 seconds) and risks liquid drips that can damage the lens. It is a capable refill, but it is not forgiving of shortcuts.
Volume with variables: the 800g capacity is the draw, but results swing widely based on prep — expect a learning curve with the vapor method.
Reach for it if: you need a large, economical refill for multiple cars and already know how to run an atomizing cup.
Know before you buy: vapor output is irregular and prep is everything — sloppy technique can leave lenses worse than before.
8. ROYWOO Headlight Repair Kit

An 800g chemical system with fast electrolytic heating that can repair nearly 80 headlights per bottle.
This is the premium, high-volume workhorse of the list. The 800g capacity, paired with a high-power electrolytic atomizer, heats faster and produces better atomization — which means less construction time and less liquid wasted. If used properly, the maker claims the kit can repair nearly 80 headlights, making it the clear choice for mechanics or owners with a fleet of vehicles.
Effectiveness and quality are the two most-praised traits, and the proof is in the anecdotes. A mechanic used it on 3 cars with drill wet-sanding (500 to 800 to 2000 grit) and still had half a bottle left. Another owner restored a badly scratched polycarbonate skid-steer windshield to perfect clarity, eliminating sunlight glare entirely. The wide application covers refurbished cars, electric vehicles, motorcycles, tail lights, trailers, and even windows — far beyond just headlights.
The steep trade-offs are safety and skill. The chemical is chloroform, so gloves and eye protection are mandatory, and the process is labor-intensive, messy, and skill-demanding. The lens surface must not contact hard objects for 5 hours after fumigation, and sandpaper must never be reused. For a professional or dedicated DIYer, the savings are enormous — but this is not a casual weekend project.
Pro-grade output: nearly 80-headlight capacity and fast electrolytic heating make it a shop favorite, but the chloroform chemistry and skill demands filter out casual users.
Best for: mechanics and serious DIYers restoring many lenses who will invest in the technique and safety gear.
Think twice if: you want a simple wipe-on fix — this requires sanding discipline, protective equipment, and careful handling of a harsh chemical.
Understanding the Specs
Ceramic Coating vs UV Sealant
A ceramic coating chemically bonds to the plastic lens, forming a hard, long-lasting layer that blocks UV rays — the CERAKOTE kit claims protection that lasts as long as you own the vehicle. A UV sealant, like the 18+ month one from Meguiar’s, dries clear and repels re-oxidation for a set period. Both beat a bare polish, which leaves plastic exposed to the sun and haze within weeks.
Sanding Grit Numbers
Grit numbers tell you how coarse the sandpaper is — lower numbers cut deeper, higher numbers refine. The XPERTCHEMY kit uses P2000 and P3000 discs for moderate work, while the 3M system starts at medium 500-grit aluminum oxide for heavier oxidation. For deeply pitted lenses, some owners add even coarser paper like 800-grit before the kit’s own steps to remove the worst damage first.
FAQ
Can a headlight cleaner fix badly scratched lenses?
How long does a ceramic headlight coating last?
Do I need a drill to restore my headlights?
What do the sanding grit numbers like P2000 mean?
Is the vapor-based liquid method better than wipes?
Will a headlight restoration kit work on tail lights and fog lights?
Why did my headlights turn cloudy again after a few weeks?
How much time does a full headlight restoration take?
Final Thoughts: The Verdict
If you want one dependable pick, the auto headlight cleaner winner is the CERAKOTE Ceramic Kit because its true ceramic bond outlasts the car and needs only 30 minutes of hand work. If you want drill-powered speed on heavy oxidation, grab the 3M Lens Restoration System. And if a durable UV sealant is your priority, the Meguiar’s Ultimate Kit with its 18+ month protection is the one to reach for.
How We Picked
We do not accept paid placement. Every pick is matched to a real buyer and a real use-case; we do not hands-on test units.
Sources & Methodology
Specifications: manufacturer listings and product documentation. Review insights: verified customer reviews, as of August 2026. Pricing: not shown on this page (it changes often); check the current price via the retailer link.
As an Amazon Associate, Gadgets Feed earns from qualifying purchases. This does not affect which products we feature.