
Our readers keep the lights on and my morning glass full of iced black tea. As an Amazon Associate, I earn from qualifying purchases.
Specs are compiled from manufacturer listings and verified buyer reviews and can change over time — please confirm the key details on the product page before buying.
Your basement floor faces a simple question: how much abuse will it take? A workshop where tools drop needs tougher armor than a dry, clean rec room. The kits below differ in coverage, cure time, and real-world durability, so you can match the coating to how you actually use the space.
I’m Min — the founder and writer behind Gadgets Feed. This guide is built by comparing the manufacturers’ published specifications and the patterns across verified customer reviews, so you get each pick’s real strengths and trade-offs instead of marketing spin.
From 100% solids professional kits to budget-friendly water-based options, here is the honest breakdown of the basement floor epoxy market that helps you pick the right one on the first try.
Our Picks at a Glance


How To Choose The Best Basement Floor Epoxy
Basement floors are different from garage floors. They sit below grade, which means moisture can push up through the concrete, and they rarely see hot tire pickup. That changes which epoxy you should buy. You need something that seals against dampness, handles occasional spills, and looks good enough to live with.
100% Solids vs. Water-Based Epoxy
100% solids epoxy contains no water or solvent, so it shrinks almost nothing as it cures. That makes it a thicker, tougher film that blocks moisture better. Water-based epoxy is cheaper and easier to apply, but it is thinner and less forgiving on damp slabs. For a basement, the extra cost of 100% solids is usually worth it.
Coverage Claims Are Optimistic
Every manufacturer lists a theoretical coverage number. Real-world coverage depends on how porous your floor is and how thick you lay it on. Buyers across multiple kits report getting 60 to 80 percent of the advertised square footage. Measure your floor, then add a buffer before you order.
Pot Life Controls Your Success
Pot life is the window you have to spread the mixed epoxy before it hardens in the bucket. A 30-minute pot life sounds short, but it keeps the material workable on the floor. Some kits have very short working times, and several buyers report the epoxy setting up in the container mid-job. Work in small batches on a cool day.
Quick Comparison
| Model | Best For | Solids | Full Cure | Kit Size | Amazon |
|---|---|---|---|---|---|
| Colored Epoxies 10025★ Best Overall | Pro-grade durability | 100% | 24 hours | 3 Gallon | Amazon |
| ArmorPoxy Garage KitPremium Pick | All-in-one DIY bundle | 100% | 24-72 hours | 300 Sq Ft | Amazon |
| SIMIRON 1100SLTop Performer | Moisture sealing | 100% | — | 3 Gallon | Amazon |
| BP Resins Single Shot | High-gloss finish | 100% | — | 3 Gallon | Amazon |
| Magic Resin Clear | Budget-friendly clear coat | — | 7 days | 1.5 Gallon | Amazon |
| Rust-Oleum EpoxyShield | Quick, easy basement refresh | Water-based | 24 hours | 1 Gallon | Amazon |
| Everflow MPC | Large surface projects | 100% | 48 hours | 3 Gallon | Amazon |
| ANE Self-Leveling | Smooth, non-slip coating | — | — | — | Amazon |
In‑Depth Reviews
1. Colored Epoxies 10025 White Garage Floor Epoxy Kit
Our pick — over 4★ from 350+ verified ratings; the strongest balance of quality and price.
The pro-grade pick that shrugs off a dropped drill and still looks showroom fresh.
The standout feature here is the long working window. You get roughly 30 minutes of pot life but up to 2.5 hours of open working time, which is a luxury for first-timers. This 100% solids, zero-VOC formula gives you time to spread, back-roll, and fix mistakes before it sets.
Real-world toughness leads the way. One owner’s review of a 580 sq ft garage project reports dropping a drill from 10 feet and getting only a “minor chip” — a concrete sign of abrasion resistance. The self-leveling action spreads into a smooth, smooth, high-gloss finish without you fighting the material.
The trade-off is the prep work. Owners who ground, patched, and acid-etched their concrete before pouring got flawless results, while one reviewer on a 3-day dry time warns that failure to control temperature and prep correctly can leave you with a sticky mess. It’s a professional-grade system that rewards care.
Owner-Approved Strength
- Quality is the most-praised aspect by far, with dozens of owners calling it professional grade
- Exceptional customer support — one owner got a callback in 5 minutes on a Sunday
- Long 2.5-hour working time makes DIY application forgiving
Realistic Challenges
- Demands extensive prep — grinding, patching, and etching are non-negotiable
- Sensitive to heat; one batch hardened in the bucket in 100°F conditions
The pro-grade pick: reach for this when your basement doubles as a workshop and you want a floor that survives heavy tools.
Who should hesitate: if you want a quick weekend refresh with minimal prep, this kit will punish you for skipping steps.
2. ArmorPoxy Garage Epoxy Floor Kit
The complete DIY bundle with everything but the contractor, ready in three steps.
This kit solves the biggest DIY headache: sourcing every tool separately. The 17-piece set includes etching solution, decorative flake mix, non-slip additive, roller, and squeegee — so you open one box and start working. Owners consistently say the instructions and included video make the process easy to follow.
It’s built for speed. The 100% solids formula cures in 24 hours and is vehicle-ready in 72 hours. The three-layer system protects against oil and solvents, and the textured finish keeps floors grippy even when wet — a real safety win for a basement laundry or workshop area.
The honest catch is the mixing ratio. Owners note the epoxy tub lacks markings, making the mix hard to gauge, and the included squeegee is flimsy. One user needed extra flakes for full coverage. It’s a premium system, but you may want a backup squeegee on hand.
All-in-one convenience: this is the rare kit where owners praise both the results and the instructions, calling it a professional look at a low cost.
The setup note: weigh the parts carefully and buy extra flakes if you want full broadcast coverage.
The complete-package pick: choose this if you want one box to handle the whole job without hunting for tools.
Look elsewhere if: you’re a perfectionist about mixing ratios — you might prefer a kit with pre-measured parts.
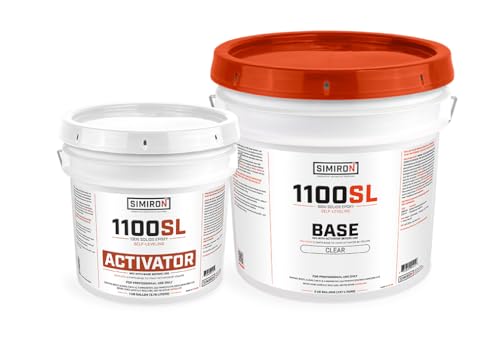
3. SIMIRON 1100SL Epoxy Resin Coating
The moisture-stopper that also kills old fumes and dust in one pour.
This is the epoxy for damp basements. One owner covering 275 sq ft at 12-15 mils reports the coating “stopped slab moisture, dust, cold, and old pesticide fumes” — and that their dehumidifier runs half as much afterward. It’s a genuine moisture barrier, not just a pretty surface.
The 2:1 mix ratio is straightforward, and the cycloaliphatic formula (a type of epoxy that resists water spotting and amine blushing, a cloudy film) keeps the finish clear and glossy. It’s a 100% solids system, so you get a thick, high-build coating that levels itself into a smooth, chemically resistant surface.
The warning is clear from owners: this stuff sets up fast. “It gets hot, hot, hot and hardens really fast,” one reviewer warns, and another wasted half a bucket by mixing too much at once. Work in small batches, pour immediately, and you’ll be fine.
The basement specialist: if moisture and fumes are your problem, this coating physically seals them out — the strongest real-world claim in this guide.
Speed warning: this is not a product to leave mixed in the bucket; have your squeegee ready before you pour.
Reach for this if: you’re sealing a damp, musty basement and want a rock-hard, fume-blocking barrier.
Think twice if: you’re a slow, methodical worker — the fast cure will punish hesitation.
4. BP Resins Single Shot Epoxy Kit
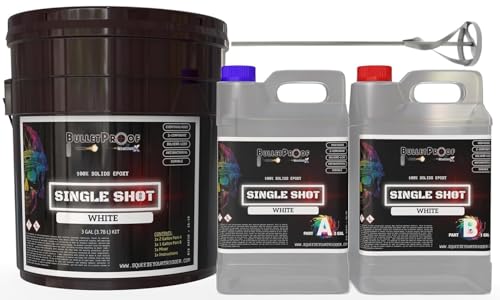
The high-gloss showfloor that wipes clean and shrugs off rust stains for months.
This kit earns its following on finish quality. Owners mention a durable floor that after 8 months shows “no chips, flakes, or odor,” with flood-resistant performance and rust that wipes right off. It’s a 100% solids, two-component gloss coat that genuinely looks like a showroom floor.
It comes with a free mixer, which is a nice touch, and the low-VOC formula keeps odors manageable. The self-leveling action spreads smoothly, and the washable, crack-resistant finish holds up to workshop abuse. Owners note the easy mix and spread make it forgiving for intermediate DIYers.
The honest knock is coverage and pot life. One owner measured “about 125 sq ft per kit” rather than the advertised number, and the pot life is short — you must mix small batches or it heats up fast. A primer is recommended, adding to the total cost.
Showroom shine: this is the pick when you want guests to think a pro did your basement, with real durability behind the gloss.
Coverage caution: plan for roughly half the advertised coverage and budget extra kits accordingly.
The gloss-seeker’s pick: choose this for a basement that’s more rec room than workshop, where looks matter.
Who should skip: large floors — the real-world coverage makes this an expensive way to cover big square footage.
5. Magic Resin Clear Floor Epoxy

The budget clear coat that transforms dull concrete while staying affordable.
This 1.5-gallon kit is the entry point for a basement refresh. It’s a low-odor, self-leveling clear coat that works on concrete, metal, and wood, and customers note a smooth, high-gloss finish that resists scratches, spills, and stains. The full cure takes 7 days, so plan for a week before heavy use.
The real value shines in its simplicity. Reviewers point out a non-porous, smooth finish that’s easy to clean — ideal for a basement workshop or storage area. One owner covered an entire garage floor with a single 1.5-gallon kit. The clear formula also means you can tint it with color pigments for a custom look.
The catch is honest and important. Multiple shoppers say the coverage is “overstated” — one measured 60 sq ft at 4mm thick, not the advertised 200 sq ft. Another received an old kit where the resin had settled. Check for crystallization before use and order extra if your floor is porous.
Budget-friendly sealing: this is the cheapest way to get a clean, sealed, glossy basement floor with minimal fuss.
Coverage reality check: assume half the advertised square footage for a decent thickness, and inspect the resin before you start.
Reach for this if: you’re on a budget and want a clean, sealed floor without pro-grade complexity.
Look elsewhere if: you need a thick, armor-like coating for a heavy-use workshop — this is more of a sealer than a tank.
6. Rust-Oleum EpoxyShield Basement Kit

The weekend-warrior coating that’s walkable in 8 hours and done by Sunday.
This is the fastest path to a finished basement floor. The water-based formula is walkable in just 8 hours and accepts regular foot traffic in 24, so you’re not locked out of your space for days. It’s a one-coat system with no primer needed, covering up to 250 square feet per kit.
The satin finish is practical, not glossy. It’s easy to clean and provides long-lasting protection from stains and wear, which suits a basement man cave or playroom. The kit includes decorative color chips to dress up the gray, and the two-part mix is straightforward for a beginner.
The honest reality is mixed. One owner reports it holds up well with some flakes falling off over time, which caused no problems. But another found it “reacts to patches in cement,” with old patch outlines showing through the finish. Prep the concrete thoroughly, and expect a clean, functional floor rather than a flawless showpiece.
Speed and simplicity: no other pick gets you back on the floor faster — 8 hours to walkable is genuinely impressive.
The finish trade-off: this is a satin coating, not a self-leveling gloss, so don’t expect mirror perfection.
The right pick for: a quick, affordable basement refresh where you’re back in the room the same day.
Who should skip: anyone with a patched or uneven slab — the patch lines can ghost through this thinner coating.
7. Everflow MPC Clear Epoxy Kit
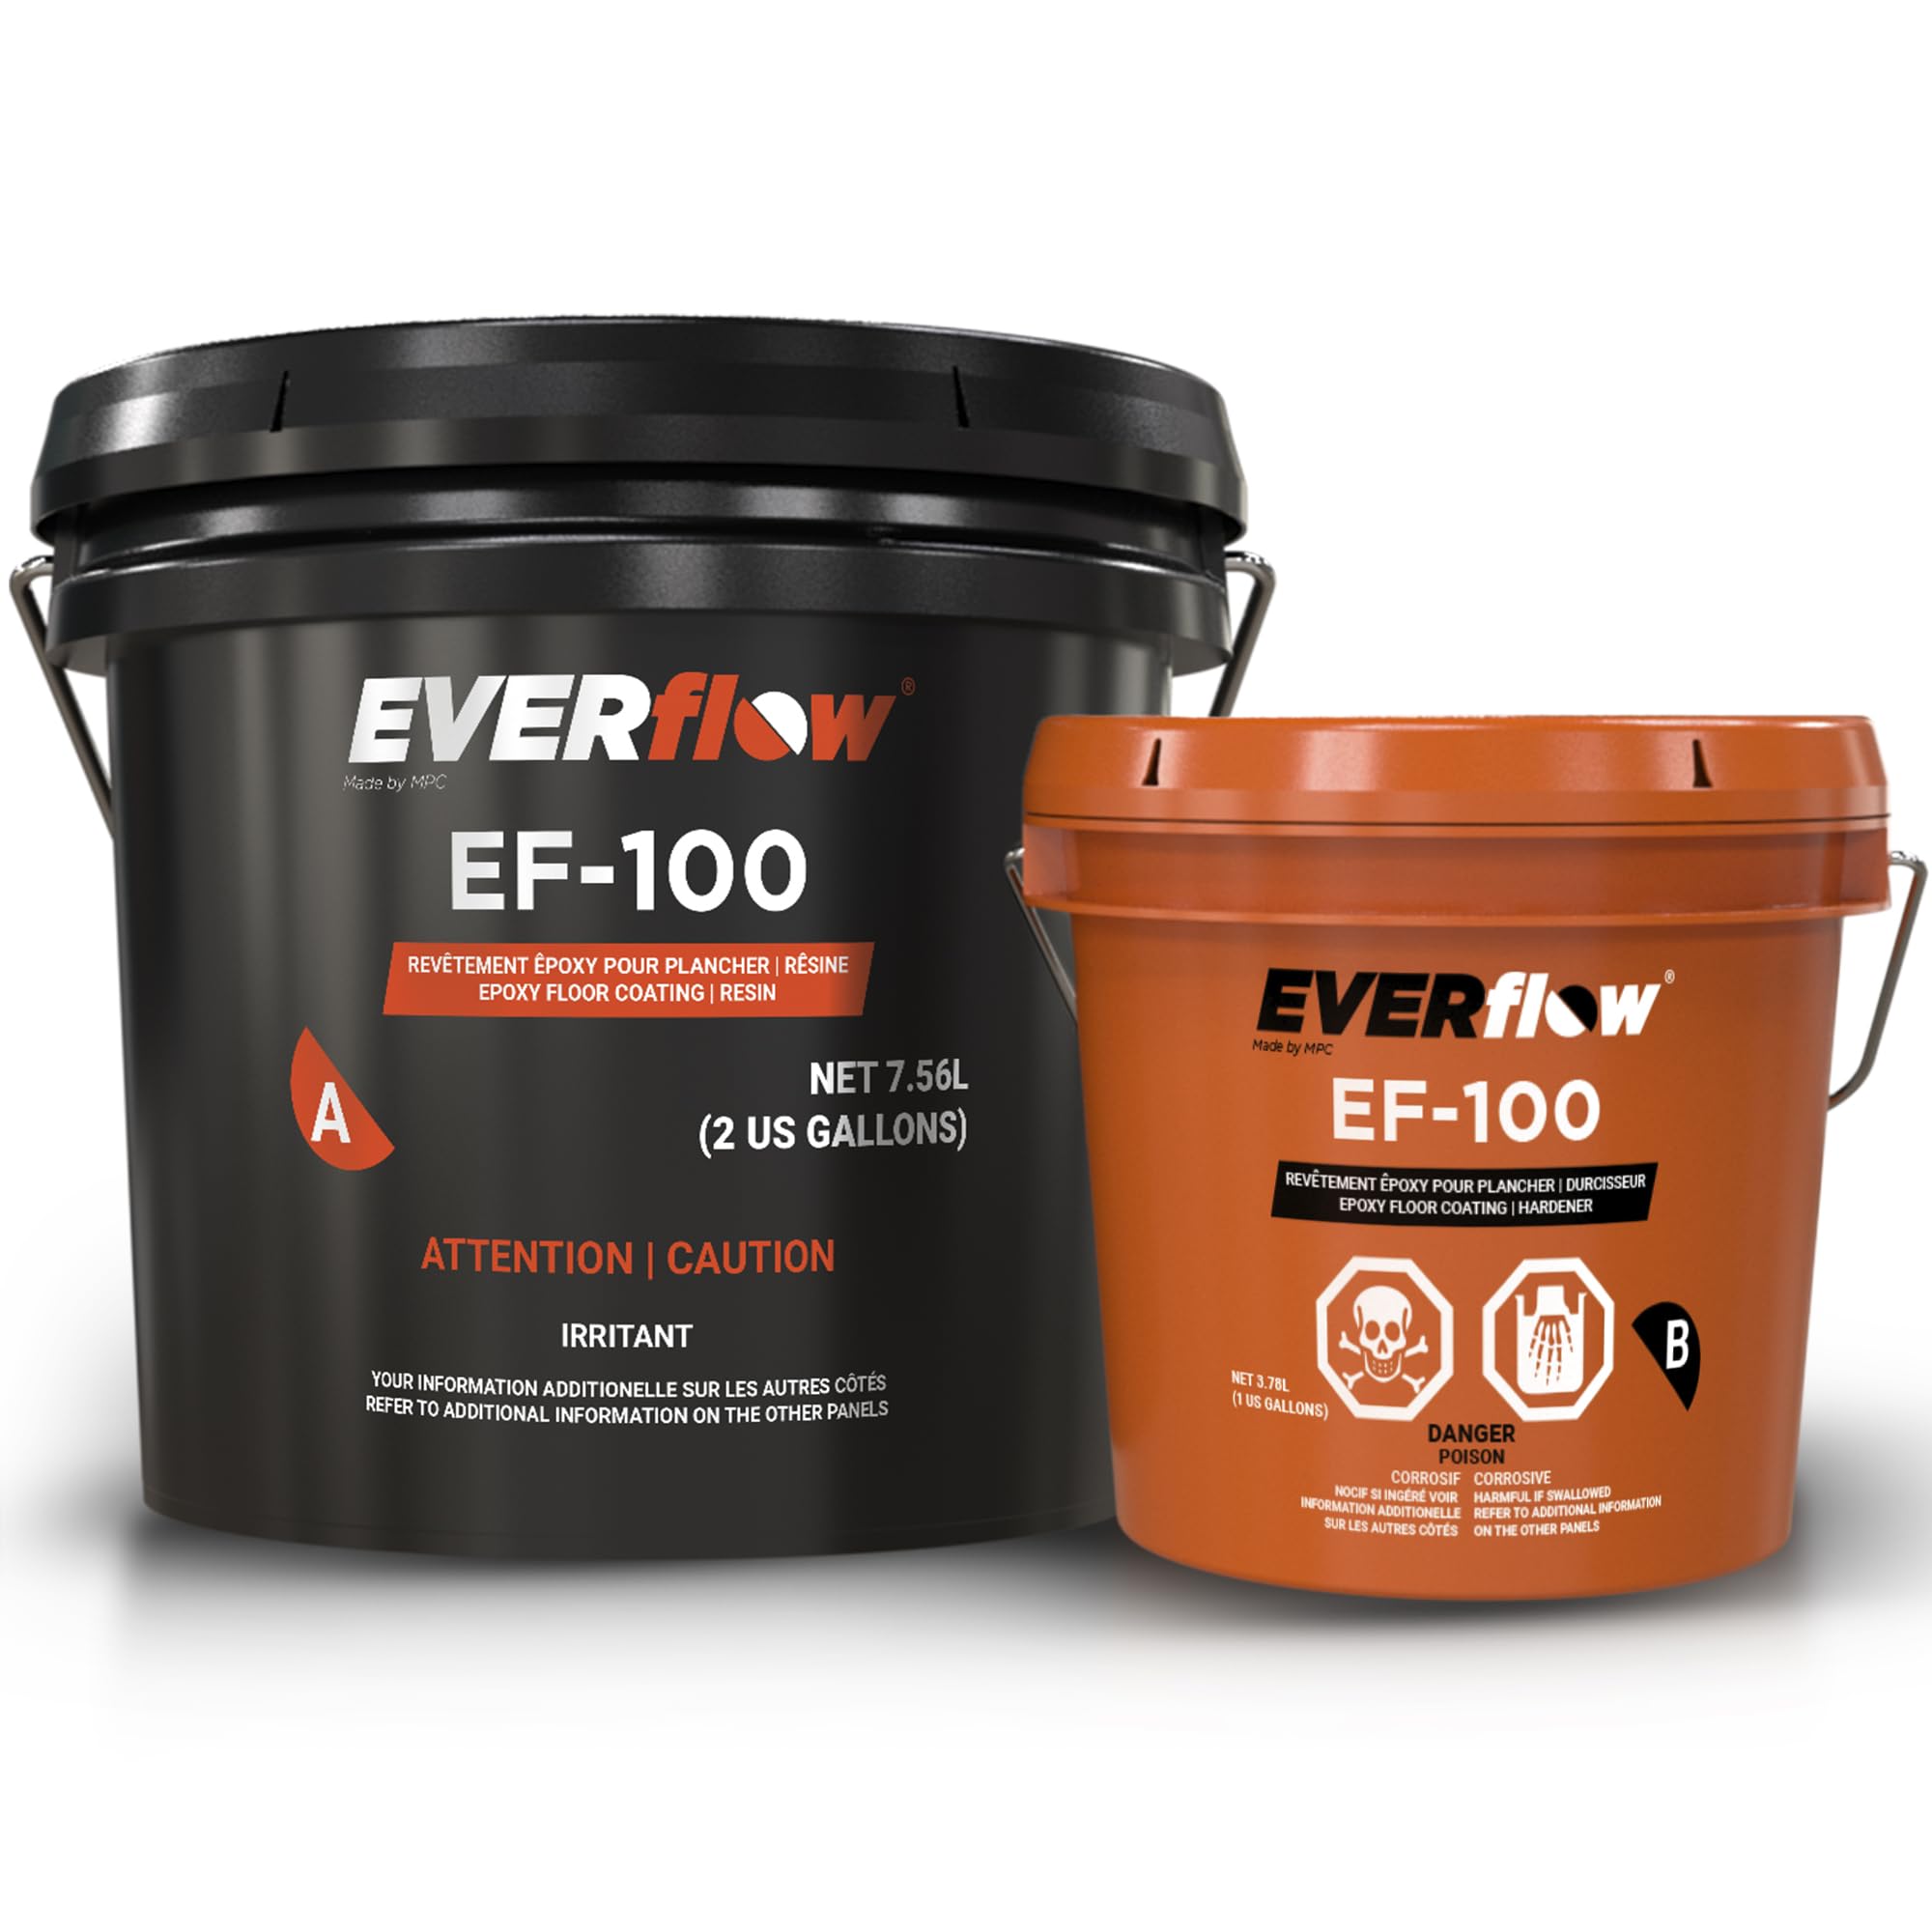
The industrial workhorse that turned a 900 sq ft pole barn into a showpiece.
This kit is built for serious square footage. One owner covered 900 sq ft using four kits and reported the floor “looks new” after 19 months, with only quarter-size chips from heavy tool drops that were patchable. That’s the durability story that defines this pick.
It’s a 100% solids, self-leveling, high-build coating that resists wear, acids, and yellowing over time. The clear formula means you can add metallic pigments or flakes for a custom look — one owner created a “great faux marble look.” The flip side is a 48-hour cure, so plan for two days of downtime.
The warning from owners is about heat. One reviewer’s bucket “solidified within 5 minutes, smoked, and melted” the container during a defective batch. Mix in small batches and keep the material thin on the floor. When it works, it’s superb; when it fails, it’s dramatic.
Big-floor durability: this is the proven choice for pole barns, large garages, and expansive basements where longevity matters.
Heat management: work in cool conditions, mix small, and pour fast — this is the key to success.
Reach for this if: you’re coating a large area and want industrial-grade toughness that lasts.
Who should skip: first-timers on a hot day — the fast-curing formula is unforgiving if you mix too much at once.
8. ANE Self-Leveling Epoxy Kit
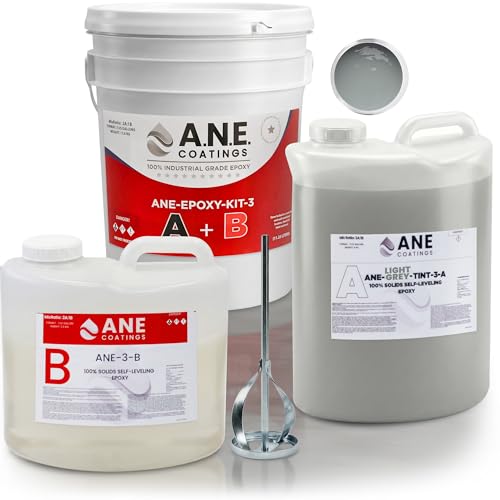
The glass-like coating that spreads itself into a smooth, non-slip finish.
This kit’s defining feature is how easily it levels. The low-to-medium viscosity formula spreads out uniformly, leaving “no ripples or seams” even with multiple coats. Owners call it “the easiest self-leveling floor epoxy to work with,” and one covered a 12×10 room flawlessly.
The anti-slip additive is the practical differentiator. You get a shiny, mirror-like finish that still provides good grip — a real safety win for a basement bathroom, laundry room, or entryway. It’s solvent-free, VOC-compliant, and once cured, it won’t absorb oils or stains.
The honest caveat is coverage and cure. One owner of a 300 sq ft floor found the kit covered “just a little over half” the advertised area and had to reorder. Others report longer-than-expected dry times. Give yourself no more than 30 minutes working time per batch and order extra if your floor is porous.
Easy, glossy, grippy: this is the friendliest self-leveling formula we found, with a safety-conscious anti-slip finish.
Coverage reality: plan for less than half the advertised coverage on porous concrete — budget extra kits.
The pick for: a smooth, glossy, non-slip floor in a bathroom or laundry area where safety matters.
Who should skip: anyone covering a huge area — the real-world coverage makes this better suited to medium rooms.
Understanding the Specs
100% Solids vs. Water-Based
100% solids epoxy has no water or solvent, so it cures into a thicker, tougher film that blocks moisture and resists scratching better. Water-based epoxy is cheaper and easier to apply but thinner and less protective. For a basement that sees dampness, 100% solids is the safer bet.
Pot Life and Working Time
Pot life is how long the mixed epoxy stays liquid in the bucket. Working time is longer — the window you have to spread it on the floor. Short pot life means you must mix small batches. A 30-minute pot life with 2.5 hours of working time is the forgiving balance for DIYers.
FAQ
How long does basement floor epoxy last?
Can I apply epoxy over a damp basement floor?
How long before I can walk on my epoxy floor?
What is the difference between self-leveling and regular epoxy?
How much epoxy do I need for my basement?
Can I tint clear epoxy to change its color?
Why does my epoxy feel sticky or never harden?
Is epoxy safe for a basement where I exercise or have pets?
Final Thoughts: The Verdict
For the majority of shoppers, the basement floor epoxy winner is the Colored Epoxies 10025 because it pairs professional-grade durability with the most forgiving working time, and it handles a dropped drill with only a minor chip. If you want a complete kit that comes with every tool and cures fast, grab the ArmorPoxy. And for sealing a damp, musty basement against moisture and fumes, the SIMIRON 1100SL is the one to reach for.
How We Picked
We do not accept paid placement. Every pick is matched to a real buyer and a real use-case; we do not hands-on test units.
Sources & Methodology
Specifications: manufacturer listings and product documentation. Review insights: verified customer reviews, as of August 2026. Pricing: not shown on this page (it changes often); check the current price via the retailer link.
As an Amazon Associate, Gadgets Feed earns from qualifying purchases. This does not affect which products we feature.